2017/03/30
2017/03/29
2017/03/19
2017/03/12
2017/03/10
2017/03/05
2017/03/03
2017/03/02
2017/02/23
2017/02/09
【食譜】[中式] 虱目魚料理-澎湖酸高麗菜蒸虱目魚肚
酸高麗菜是相當具有地方色彩的一種食材,蓋因澎湖的冬天因為東北季風強勁,不利耕作種植。因此澎湖人會在冬天之前,把高麗菜醃漬起來作為冬季纖維質補充來源。這個概念跟東北人醃漬酸白菜作為冬季儲備蔬菜有點類似。
澎湖的海鮮新鮮味美,在地人自然把酸高麗菜跟海鮮搭在一塊兒烹調,因此成就了在別的地方很難吃得到的特殊風味。我在澎湖的時候,常常吃到酸高麗菜來煮魚,今天就利用台灣全年容易取得的虱目魚肚,搭配自製酸高麗菜來做清蒸。
🇺🇸 Read in English
Sour cabbage is an ingredient with strong regional characteristics. In Penghu, the strong northeast monsoons in winter make farming difficult. Therefore, locals ferment cabbage before winter as a source of dietary fiber. This concept is somewhat similar to people in northeastern China fermenting pickled cabbage for winter reserves.
Because Penghu's seafood is fresh and delicious, locals naturally pair sour cabbage with seafood, creating a unique flavor that is hard to find elsewhere. When I was in Penghu, I often ate fish cooked with sour cabbage. Today, I'm using milkfish belly—easily available year-round in Taiwan—steamed with homemade sour cabbage.
關於自製酸高麗菜
酸高麗菜的做法跟酸白菜類似,請參考大衛西戶之前拍攝的教學影片:
👉 點此觀看教學影片
不過跟大衛西戶酸白菜做法有不一樣的地方在,西戶的酸白菜是重壓白菜讓它出水,而我的做法是將高麗菜燙過後放進罐中,等汆燙的鹽水放涼之後,再把它倒進去至淹過高麗菜。這樣冬天 20 度左右的天氣,約 10 天左右可以熟成。
接下來要分享的,是完全自由版的澎湖酸高麗菜蒸魚,絕對不正統,澎湖的鄉親不要糾正我做法不道地蛤~ 反正好吃是肯定的!
準備材料 (Ingredients)
🛒 準備材料
- 產銷履歷虱目魚肚 (Milkfish Belly): 1 塊
- 自製酸高麗菜 (Homemade Sour Cabbage): 適量
- 薑絲 (Shredded Ginger): 適量
- 蔥段 (Scallion Sections): 約 1/2 根
- 辣椒片 (Sliced Chili): 適量
- 蒸魚醬油 (Steamed Fish Soy Sauce): 1 大匙
- 香油 (Sesame Oil): 少許
- 魚露 (Fish Sauce): 1 小匙
作法步驟 (Instructions)
-
盤底防沾與鋪料:盤內先放一些薑絲,然後均勻撒上香油,以防止蒸魚過程中,魚皮會跟盤子沾黏。之後將魚肚洗淨置於盤中,酸高麗菜切碎鋪在魚肉上。
(Place some shredded ginger on a plate and drizzle evenly with sesame oil to prevent the fish skin from sticking during steaming. Wash the milkfish belly, place it on the plate, and top it with chopped sour cabbage.)
-
鋪上辛香料:接下來鋪上薑絲、蔥段及辣椒片。
(Next, top with the remaining shredded ginger, scallion sections, and chili slices.) -
調味:均勻撒上蒸魚醬油、魚露。
(Drizzle evenly with steamed fish soy sauce and fish sauce.) -
入鍋清蒸:接下來入蒸鍋清蒸,因為魚肚已片開,受熱厚度不厚,所以大約蒸 6 分鐘即可。
(Place it in a steamer. Since the milkfish belly is butterflied and quite thin, steaming for about 6 minutes is sufficient.)
成果與心得分享 (Conclusion)
因為食材相當優秀,所以蒸好的成品吃起來一點土味都沒有喔。酸高麗菜的風味跟魚肉真的很搭,簡單又易做,給大家做烹調虱目魚肚的另一種參考喔~
🇺🇸 Read in English
Thanks to the excellent quality of the ingredients, the finished steamed dish has absolutely no earthy taste. The flavor of the sour cabbage pairs incredibly well with the fish. It's simple and easy to make, providing another great option for cooking milkfish belly!
🎥 料理實作直播影片一刀未剪
請大家參考下方影片示範:
2017/02/08
2017/02/03
2017/01/16
【食譜】[中式] 紅燒牛肉飯+蘿蔔排骨湯(季節蔬菜蘿蔔兩吃只要200元/4人)
2016/12/14
2016/12/12
【食譜】[烹飪小技巧] 糖心蛋不敗料理法,一煮就上手!
2016/12/11
【食譜】[湯品]波士頓龍蝦料理(三) 味噌波龍湯 家常吃或當年菜,都很方便!
2016/10/29
2016/10/26
【食譜】[中式] 澎湖美食DIY-澎湖酸瓜滷雞腿
2016/07/10
2016/07/05
2016/03/20
2016/01/22
【食譜】[西式] 波士頓活龍蝦料理(一) 焗烤波龍(波士頓龍蝦)
2015/12/08
【福樂鮮奶優酪食譜】香煎蒜味鱈魚排佐塔香優格醬(合作邀稿)
2015/12/01
2015/11/24
【福樂鮮奶優酪食譜】椰香優格咖哩雞 (合作邀稿)
2015/11/17
2015/11/10
2015/11/06
2015/09/29
2015/09/15
2015/09/11
2015/07/09
2015/07/07
2015/06/14
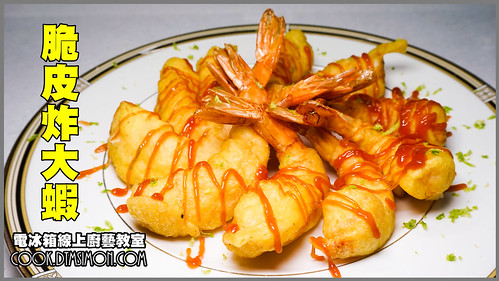
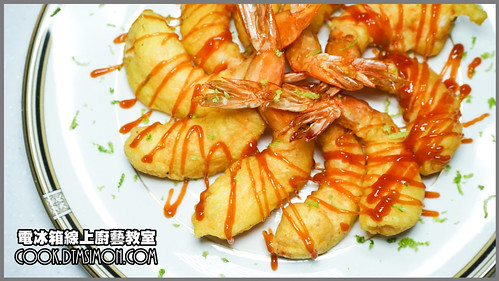
【食譜】[中式] 脆皮炸大蝦(附影音示範)
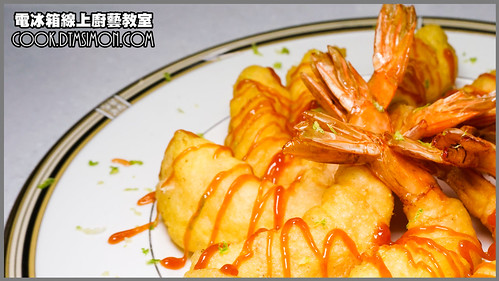
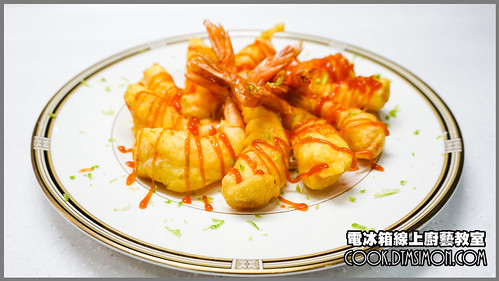
蝦子的吃法裡面,炸蝦應該是受最多人歡迎的一種。只是在外面要吃炸蝦,一來往往所費不貲,二來用什麼油炸也讓人很擔心。
其實炸蝦一點都不難,跟著冰箱的步驟,輕輕鬆鬆變成炸蝦高手將不再是夢喔!
🇺🇸 Read in English
Among all the ways to enjoy shrimp, deep-fried shrimp is probably the most popular. However, eating it at restaurants can be expensive, and the quality of the frying oil is often a concern.
Actually, making fried shrimp is not difficult at all. Follow my steps, and becoming a fried shrimp master will no longer be just a dream!
準備材料 (Ingredients)
🛒 準備材料
- 鮮蝦 (Fresh Shrimp): 適量
- 檸檬 (Lemon): 1 顆 (取皮屑提味用)
- 起司脆酥粉 (Cheese Crispy Frying Batter Mix): 適量
- 番茄醬 (Ketchup): 適量 (沾醬用)
作法步驟 (Instructions)
-
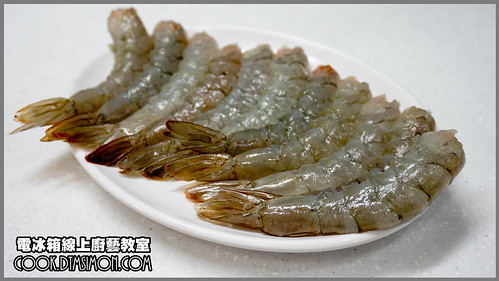
鮮蝦處理:鮮蝦去頭、去殼,保留尾段備用。
(Remove the head and shell of the fresh shrimp, leaving the tail section intact, and set aside.) -
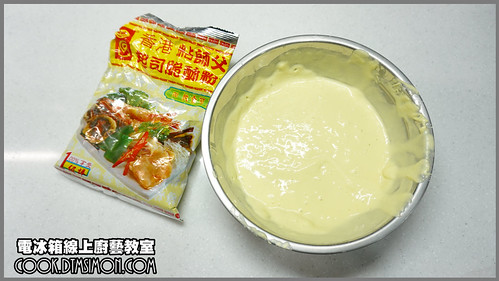
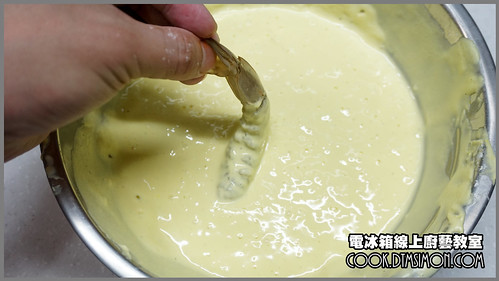
調製麵糊:脆酥粉加水拌勻,濃稠程度差不多是用筷子沾了不會馬上流下來就可以了。
(Mix the crispy batter powder with water. The consistency should be thick enough that it doesn't immediately drip off a chopstick.)
-
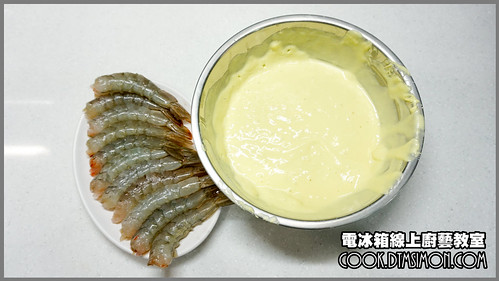
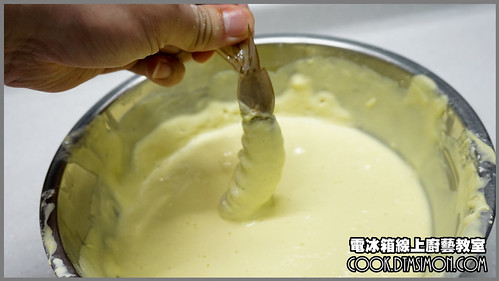
裹上麵糊:鮮蝦跟脆酥粉漿準備好之後,抓住蝦尾,把蝦放到麵糊裡面沾。反覆數次,讓麵糊均勻包住蝦肉的部分。
(Hold the shrimp by the tail and dip it into the batter. Repeat a few times to coat the shrimp meat evenly.)
-
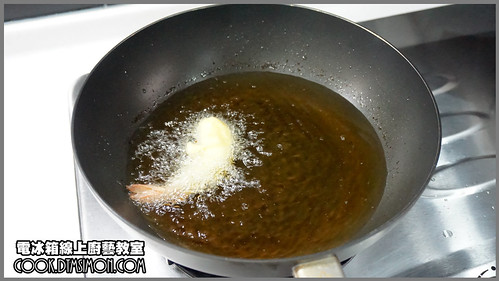
下鍋油炸與定型技巧:接著將蝦放進 180°C 的油中炸。一開始記得不要一下子就把蝦放進去,稍微轉一下蝦身,讓麵糊定型後再整隻下鍋熟成。
(Next, fry the shrimp in 180°C oil. Remember not to drop it in all at once; hold the tail and gently twist the shrimp in the oil to let the batter set before fully releasing it into the wok.)
🎥 炸蝦定型技巧教學影片
成果與心得分享 (Conclusion)
-
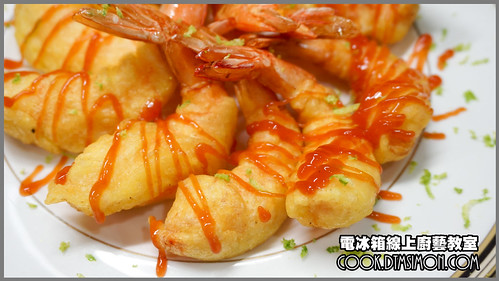
瀝油盛盤:炸好的蝦瀝乾多餘的油,然後擺盤。接著再淋上番茄醬以及檸檬皮碎屑提味,即可上桌!
(Drain the excess oil from the fried shrimp and plate them. Drizzle with ketchup and sprinkle with lemon zest to enhance the flavor, then serve!)